Want to create your own comic book? This guide walks you through every step, from brainstorming ideas to publishing your work. Whether you’re a writer, artist, or both, you’ll find practical tips to bring your story to life. Let’s get started!
Step 1: Develop Your Comic Book Idea
A great comic starts with a strong idea. Think about what excites you. Do you love superheroes, fantasy, or slice-of-life stories? Your passion keeps you motivated.
- Choose a genre: superhero, sci-fi, horror, or humor.
- Brainstorm themes like friendship, courage, or adventure.
- Write a one-sentence summary of your story.

Step 2: Create Compelling Characters
Characters drive your story. Make them unique and memorable. Give them clear motivations and flaws to feel real.
- Sketch character designs with distinct looks (e.g., unique hairstyles or outfits).
- Write short bios: Who are they? What do they want?
- Create a character sheet to keep designs consistent.
Step 3: Write a Comic Book Script
A script is your comic’s blueprint. It describes panels, dialogue, and actions. Use a clear format to guide your art.
- Outline your story with a three-act structure: setup, confrontation, resolution.
- Write panel descriptions: What’s the setting? Who’s in the scene?
- Keep dialogue short and natural to match your characters.
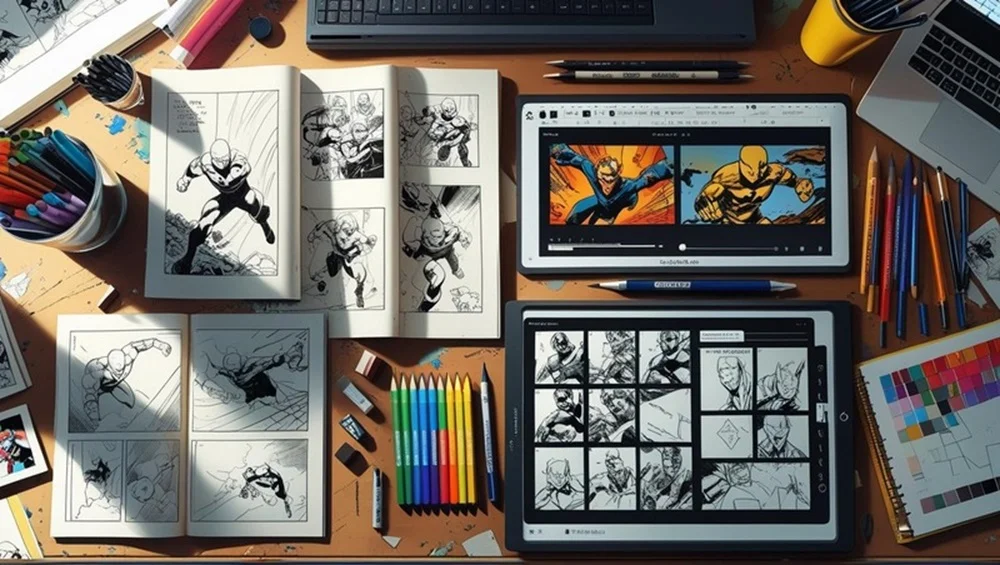
Step 4: Plan Your Comic Layout
Layouts make your story flow. Use thumbnails to sketch page designs. This saves time before drawing final art.
- Draw small sketches to test panel arrangements.
- End some pages with cliffhangers to keep readers hooked.
- Leave space for speech bubbles and captions.
Step 5: Draw and Ink Your Comic
Now it’s time to draw. Start with pencil sketches, then ink for depth. You can work traditionally or digitally.
- Use pencils for rough sketches to get proportions right.
- Ink with pens or digital tools like Clip Studio Paint.
- Add textures and shading for a polished look.
Step 6: Color and Letter Your Comic
Colors set the mood. Lettering adds dialogue and sound effects. Both make your comic pop.
- Pick a color palette that matches your story’s tone.
- Use consistent colors for characters and settings.
- Add text with fonts or hand lettering for personality.
Step 7: Prepare for Publishing
Choose how to publish: self-publishing or traditional. Each has pros and cons.
- Self-publishing: Full control, higher profits, but more work.
- Traditional publishing: Professional support, wider reach, less control.
- Format files with 300 dpi resolution and proper bleed (e.g., 6.69” x 10.24” for US comics).
Step 8: Publish and Promote Your Comic
Share your comic with the world. Use online platforms or print a Book to reach readers.
- Publish digitally on Webtoon or Tapas for free.
- Print with services like Mixam or Blurb.
- Promote on social media and at comic conventions.

Frequently Asked Questions
How long does it take to make a comic book?
A 22-32 page comic can take 3-6 months for a solo creator. Teams may finish in 1-3 months, depending on complexity.
Do I need to be good at drawing?
No. You can write and hire an artist or use tools like Canva for simple art.
What software is best for comics?
Clip Studio Paint, Adobe Photoshop, and Procreate are great. Beginners can try Canva or MakeBeliefsComix.
Final Tips for Success
Stay consistent with your style and schedule. Get feedback from friends or online communities. Keep learning from resources like Comic Book printing. Your comic book is a unique story only you can tell. Start creating today!