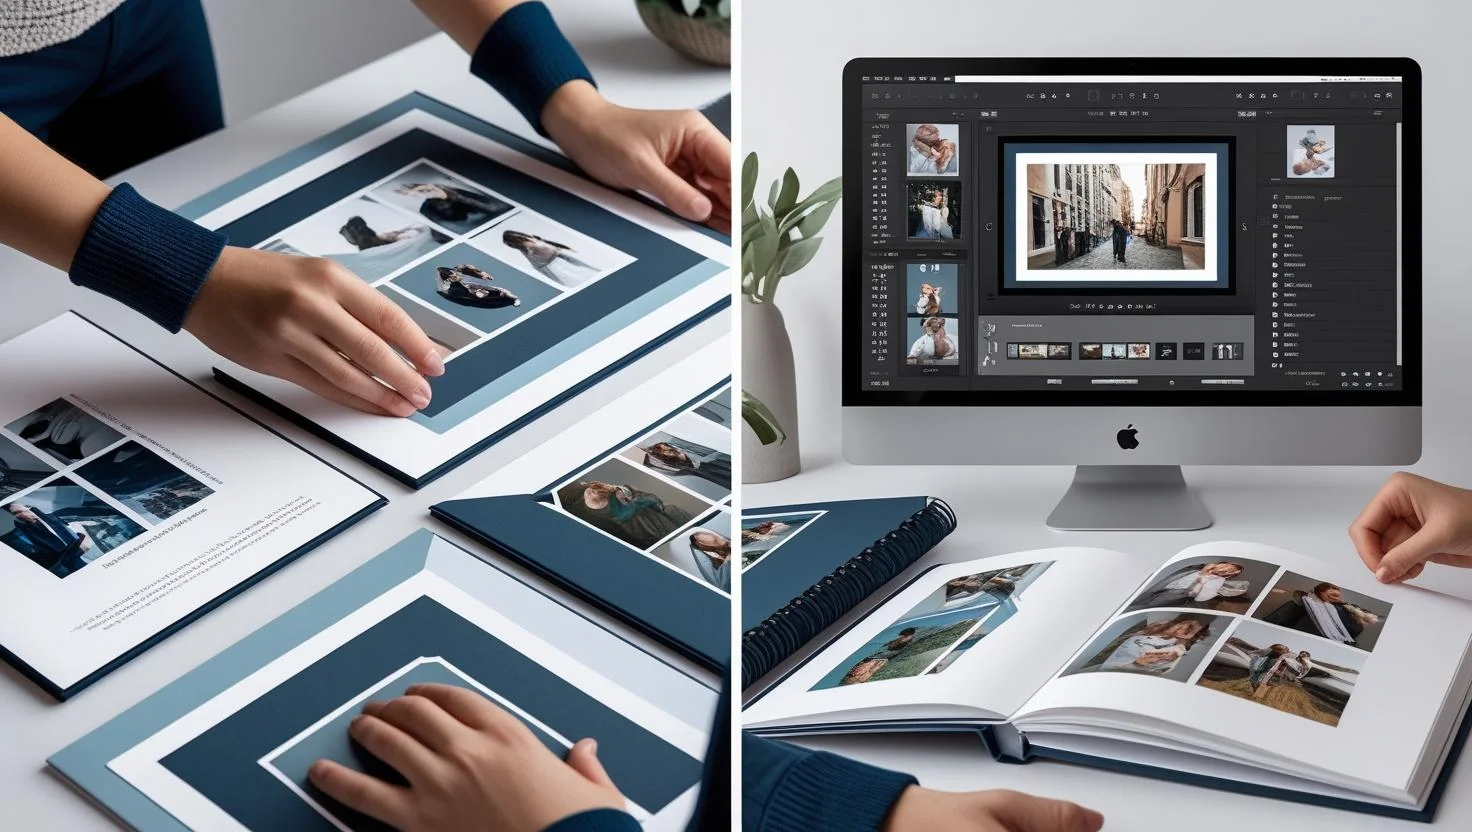
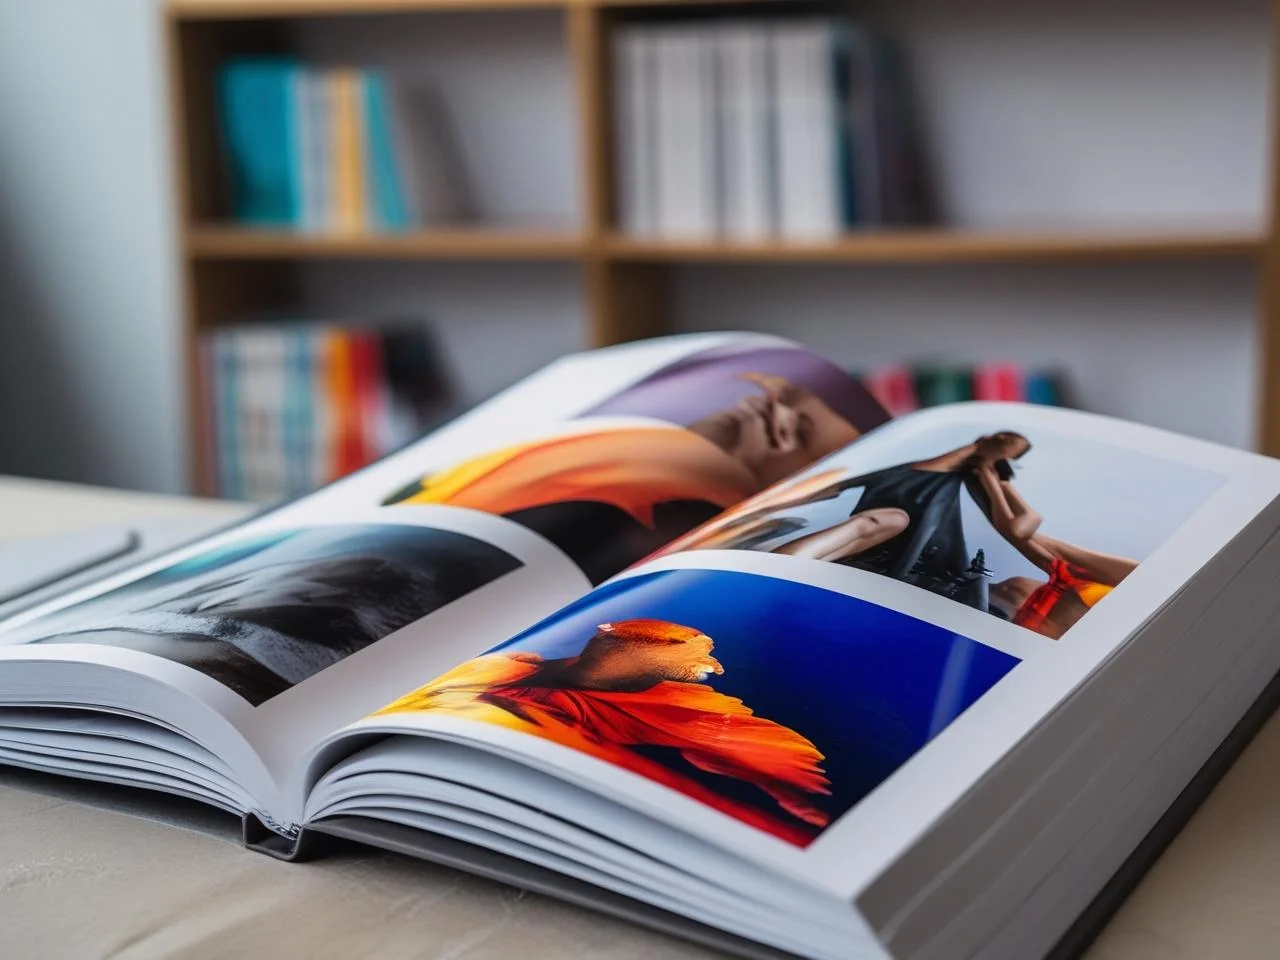
Creating a photobook is a powerful way for professional photographers to showcase their work. A high-quality photobook can impress clients, preserve memories, and elevate your brand. However, choosing the right printing service and preparing your images correctly is critical to achieving professional results. This guide provides actionable tips to help photographers create stunning photobooks that stand out. These tips are designed to optimize quality, streamline the process, and ensure your work shines.
Table of Contents
ToggleWhy Photobooks Matter for Professional Photographers
Photobooks are more than just albums. They are a tangible representation of your skills and vision. A well-crafted photobook can:
- Showcase your portfolio to potential clients.
- Serve as a premium product for weddings, events, or fine art photography.
- Act as a marketing tool to attract new business.
- Preserve your work in a professional, lasting format.
To create a photobook that meets professional standards, follow these tips.
Choose the Right Printing Service
Selecting a reliable printing service is the first step. Not all services are equal, and professionals need high-quality output. Here’s how to choose:
- Prioritize Image Quality: Look for services known for accurate color reproduction and sharp prints. Printique and MILK Books are often praised for their vibrant colors and high resolution.
- Check Book Construction: Ensure the binding is strong and pages are durable. Layflat books, which allow images to span two pages without a crease, are ideal for portfolios or wedding albums.
- Evaluate Software Usability: The design software should be intuitive. Mixbook and CEWE offer user-friendly interfaces, while Printique’s software may feel outdated for some.
- Compare Prices: Professional services like Printique can be expensive, but their quality justifies the cost for client-facing products. For budget options, Vistaprint offers decent quality at a lower price.
Image Suggestion: Include a comparison chart of top printing services (e.g., Mixbook, Printique, Vistaprint) showing image quality, price, and book sizes.
Optimize Your Images for Printing
Preparing images properly ensures they look their best in print. Follow these steps:
- Use High-Resolution Images: Aim for 300 DPI to avoid pixelation. Low-resolution images can appear blurry or grainy.
- Calibrate Your Monitor: A calibrated monitor ensures colors match what you see on-screen. Use tools like Datacolor Spyder or X-Rite i1 for accurate calibration.
- Adjust for Color Profiles: Most printers use CMYK color profiles, not RGB. Convert images to CMYK in software like Adobe Photoshop to avoid color shifts.
- Test Black-and-White Prints: Black-and-white photos can show color casts if not printed correctly. Shutterfly and Mixbook handle black-and-white prints well.
Internal Link Suggestion: Link to a blog post on “How to Calibrate Your Monitor for Photography” for deeper guidance.
Select the Right Book Size and Format
Choosing the right size and format enhances the photobook’s impact. Consider these options:
- Landscape: Common sizes like 11×8.5 inches are versatile for portfolios or wedding albums.
- Square: Sizes like 12×12 inches are ideal for Instagram-style photos or modern layouts.
- Portrait: Options like 8.5×11 inches suit vertical images or fine art collections.
- Layflat vs. Standard Binding: Layflat books are pricier but allow seamless two-page spreads. Standard binding is more affordable but may obscure parts of images.
Image Suggestion: Show examples of landscape, square, and portrait photobooks to illustrate size differences.
Design with Purpose
A thoughtful design makes your photobook professional and engaging. Keep these tips in mind:
- Keep Layouts Clean: Use whitespace to avoid clutter. Simple layouts let your photos shine.
- Use Consistent Themes: Stick to one font and color scheme for a cohesive look. Mixbook offers customizable templates for consistency.
- Avoid Overloading Pages: Place one or two images per page for maximum impact. Too many images can overwhelm viewers.
- Add Minimal Text: Include captions or titles sparingly. Use clear, readable fonts like Helvetica or Arial.
External Link Suggestion: Link to Adobe’s guide on “Design Principles for Photographers” for layout inspiration (adobe.com).
Test Before Printing
Always test your photobook to avoid costly mistakes. Here’s how:
- Order a Proof Copy: Print a single copy to check colors, alignment, and binding. Printique’s proofing process is reliable but may require extra time.
- Check for Crop Warnings: Many services, like Mailpix, warn if images will be cropped during printing. Adjust layouts to avoid losing key details.
- Review on Multiple Devices: Check your design on a computer, tablet, and phone to ensure it looks good everywhere.
Address Common Client Questions
Photographers often get asked about photobook creation. Answering these builds trust and improves SEO. Here are common questions from Google’s “People Also Ask”:
- How long does it take to make a photobook? Most services take 5-10 business days for printing and shipping. Rush options are available but cost more.
- What is the best size for a photobook? It depends on the purpose. 11×8.5-inch landscape books are popular for portfolios, while 12×12-inch square books suit social media images.
- How much do photobooks cost? Prices vary. A 20-page hardcover book costs $30-$80, with premium options like Printique reaching $100+. Look for discounts, especially during holidays.
Avoid Common Mistakes
Steer clear of these pitfalls to ensure a professional result:
- Ignoring Color Calibration: Uncalibrated monitors lead to inaccurate colors. Always calibrate before editing.
- Using Low-Quality Images: Low-resolution images ruin print quality. Always check DPI.
- Overcomplicating Designs: Busy layouts distract from your photos. Keep it simple.
- Skipping Proofs: Not ordering a proof can lead to costly reprints. Always test first.
Final Thoughts
Creating a professional photobook requires careful planning and attention to detail. Choose a high-quality printing service, optimize your images, and design with simplicity in mind. Test your book before final printing to ensure perfection. By following these tips, you’ll create photobooks that impress clients and elevate your photography business.


